
How To Black Out or De-Chrome Your Vehicle With Plasti Dip

Our Hummer H3 loves to get dirty, but there has always been one thing that has bothered us about it ever since we bought it used. It’s that damn chrome. Everywhere you look. Chrome grille, chrome mirrors, chrome door handles, chrome badging. It’s all way too much fake bling for our tastes.
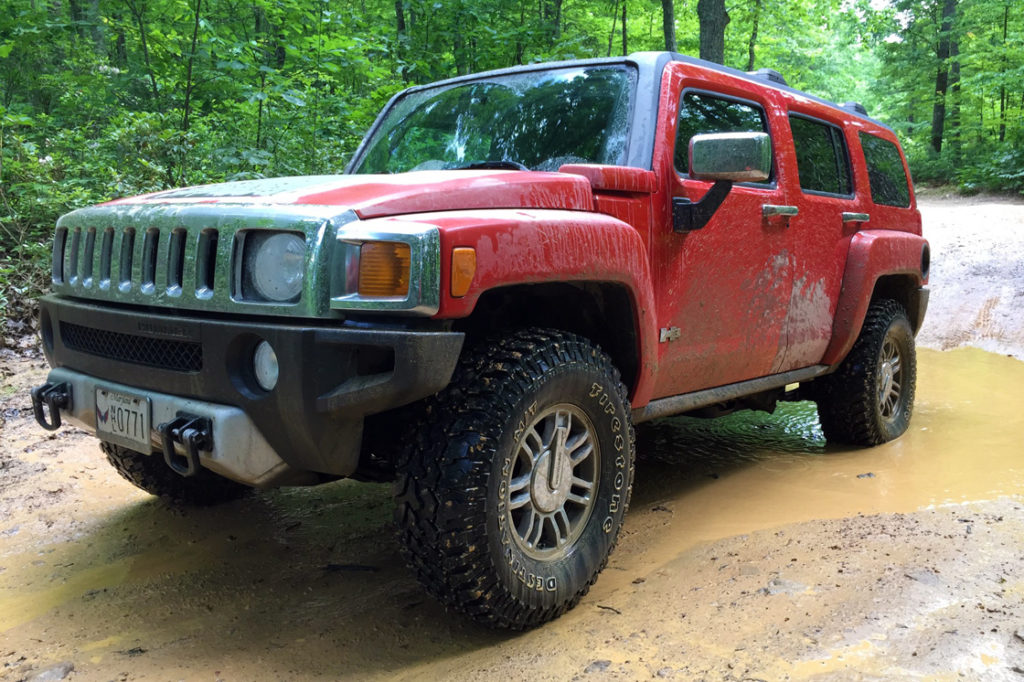
The trend these days, especially for trucks and SUVs, is to utilize black for these accents on rugged vehicles, and save the chrome for the luxury grocery-getters. So when the folks at Plasti Dip contacted us in regards to working with them on a project, we knew exactly what to do. It was time to De-Chrome or Black Out our Hummer H3.

This is a project we’ve always wanted to undertake, but it previously seemed a bit daunting. What if we screwed it up, and ruined the vehicle? Imagine our delight when we learned that Plasti Dip is removable. That’s right, if you don’t like the results, you can peel it right off. It’s like spray paint, but way better. It dries with a rubberized texture, and protects against the elements. If you mess up something, it peels right off most surfaces so you can try it again. It’s infinitely forgivable, which allows car owners to experiment with customizing their ride, without fear of doing permanent damage.
Check out our video demonstrating how we used Plasti Dip to black out a Hummer H3, and then read on below for full details and tips!
Visit https://plastidip.com/our-products/plasti-dip/ to see the amazing variety of colors and enhancers that work well together. It’s a family of dippin’ awesome products, that Plasti Dip is continuously expanding.
How To Black Out or De-Chrome Your Vehicle With Plasti Dip
1) Supplies

An 11 oz. spray can of Plasti Dip will cover about 6 sq. ft. at 5 mils thickness. So you’re going to want to estimate how much product you will need for your project. We used about 6 cans for all of the work you saw in the video above. You’re also going to need materials to mask out your vehicle. We primarily used painters tape, but you can also use brown paper and drop cloths. Additionally we recommend some car wash wipes to clean the area before you apply, and paper towels for wiping off any over-spray.
2) Setup

They recommend you apply Plasti Dip in a place that is out of the direct sun, avoid weather that is too hot or too cold, and avoid wind and rain. Without a usable garage, that proved to be quite challenging for us. We setup a tent to keep the vehicle in shade, but some of our application occurred in temperatures of over 90 degrees, and sometimes wind gusts blew dust and pollen on the surface. Working on a deadline during a rainy spring in Maryland, we were forced to make do with the conditions that presented themselves. However we highly recommend you undertake this project in a climate controlled garage for best results.
3) Mask the Area

We utilized painters tape and scissors in order to get into the smallest of areas around the H3 badging. We highly recommend taping a very large area, as over-spray will extend further than you expect, especially if there is any wind. Where possible, it’s probably best to use masking paper, a drop cloth or an old sheet to cover large areas of the vehicle. We found Plasti Dip wiped off unwanted areas rather easily, but it’s even easier to prevent it from going someplace you don’t want it in the first place. Lastly, painters tape easily removes from the vehicle, however it left a sticky residue on rubber window surrounds. So you may want to avoid using it in those areas, or you may need to clean the tape residue off with rubbing alcohol afterwards.
4) Shake, Shake, Shake!

This step is rather critical, and when applying multiple coats to multiple areas of the vehicle, we found ourselves neglecting to shake properly on some occasions, with a noticeable difference in outcomes. They recommend shaking the can for 1 minute before applying. Don’t forget this step before each application. Also of note based on some reading we’ve done on the internet, you may need to take extra steps to warm the can if applying PlastiDip in cold weather.
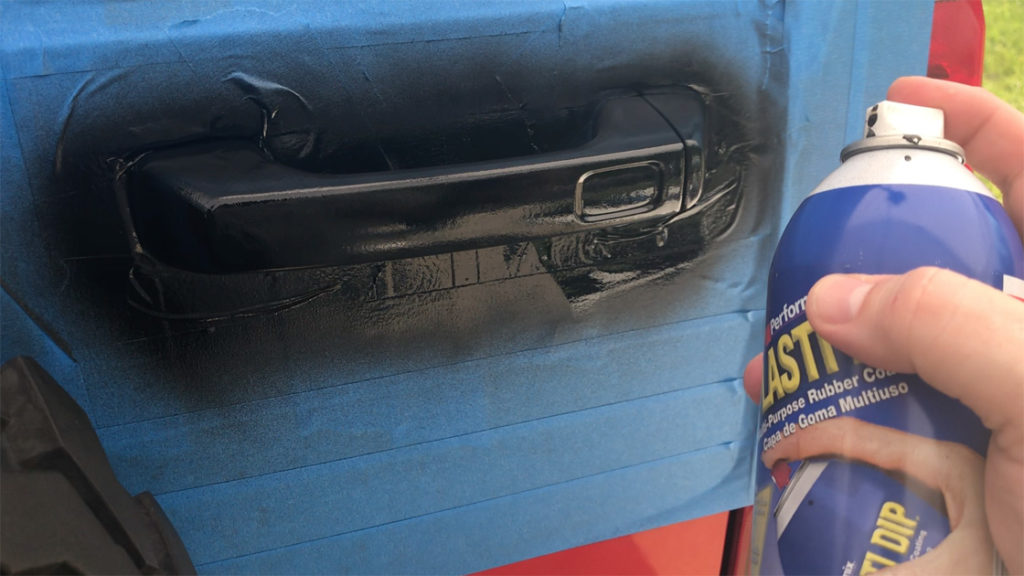
5) Spray to Apply

According to the can you are supposed to spray from about 10 to 12 inches away, however we’ve found varying opinions on this from the Internet. We found that holding the can further away gave us more texture than close up, and didn’t cover as quickly. Your results may vary depending on weather conditions as well, so we recommend you start with a small easy area on the vehicle, and find what works for you. You’ll notice in our video that we started with the H3 badging, and saved the front grille for last.
6) Wait

The official instructions say to wait 30 minutes before coats. Your mileage on that may vary, and again we found conflicting information on the internet. We assume it again depends on weather conditions, however we recommend if you have the time and patience that you really let each coat dry before applying another. We used the timer on our cell phone and worked on cleaning, masking, and spraying other areas of the vehicle while we waited for the timer to expire.
7) Spray and Repeat
After waiting about 30 minutes, we applied additional coats of Plasti Dip. We generally applied between 4 to 6 coats, depending on location and thickness of our coats. We used a bit less on the badging, and bit more on areas we assumed would need to be thicker and more resilient. It’s important to note that thicker Plasti Dip is more durable, but also easier to peel off. So we would recommend applying more than you think you’ll need, and allowing plenty of time to do the job properly. We found masking to be the most tedious step, so resist the urge to pull your masking off early, and keep applying additional coats of Plasti Dip for best results. Larger areas are more difficult to apply evenly, especially with a shaker can. So if you are doing your entire vehicle, you’re definitely going to want an industrial sprayer. You can also apply additional coats in the future to “freshen up” your Plasti Dip.
8) Removing the Masking

Once you are satisfied that you have applied enough coats, take your time to remove the masking very carefully. We found that pulling the tape away from the painted area (unlike what we show in this image actually) is most effective at avoiding pulls in the Plasti Dip. We also (VERY CAREFULLY) used a utility knife in some area to cut Plasti Dip that wasn’t separating itself from the tape. Just be very careful of your paint if using sharp objects. Plasti Dip can be repaired and redone easily, your paint job cannot.
9) Wipe Off Over-Spray
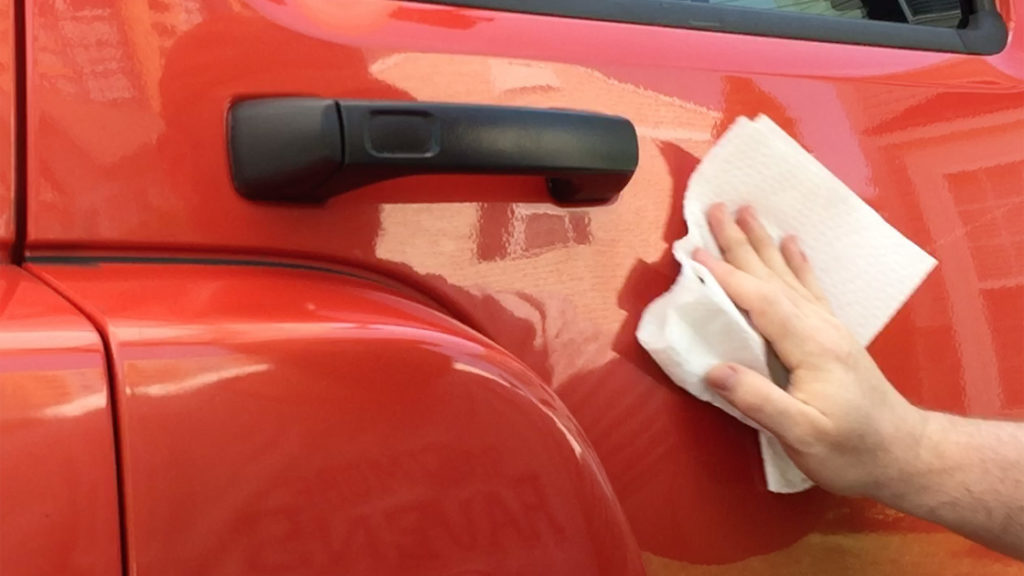
Even if you took care to mask very effectively, you’re likely to get some over-spray. We found that it easily wiped off with a minimally abrasive paper towel. However when doing so, it can create little balls of Plasti Dip which will stick to your finished product, especially when rubbing off perpendicular surfaces. So you may want to wait until the product has cured (6 hours) before wiping off over-spray in those areas. Also be careful not to accidentally rub your finished product with a paper towel, as that will leave paper towel residue stuck to your Plasti Dip, and may remove your finished product as well.
10) Finished Product

We think you’ll agree that our Hummer H3 looks much better with black accents, instead of that hideous chrome. While time-consuming to do it properly (and film everything), the project was far easier than we could have ever imagined. We’ve been driving this vehicle for nearly 8 years, and are sad we didn’t undertake this process to de-chrome the vehicle sooner. We haven’t yet attempted to peel off the Plasti Dip, but think if you followed our steps and tips above, that you should have no problems with that either. We’re delighted with the finished product, and even the texture of the rubberized door handles is something we prefer. We can’t wait to use the product again on future projects.


